
Blog build with Firebase
SwallowJs Blog Tutorial
You’re probably checking out this tutorial because you want to understand more how SwallowJs works.
This tutorial will walk you through the creation of a simple blog application. We’ll be getting and installing SwallowJs and also be creating and configuring a new Firebase project, and creating enough application logic to list, add, edit, and delete blog posts.
Here’s what you’ll need:
- IDE (Sublime text, Webstorm or Atom)
-
Thing to know to use SwallowJs
- Basic Javascript knowledge. but fear not if you’re a procedural fan.
- A good understanding of Html/css
- A basic understanding of javascript
- A basic understanding of Web components
Check here for help with Jquery
http://lab.abhinayrathore.com/jquery-standards/
http://tutorialzine.com/2011/06/15-powerful-jquery-tips-and-tricks-for-developers/
Let’s get started!
First, let’s create a fresh project on Firebase. You can do so by going to https://console.firebase.google.com/
Click on "Create New Project"

Next, add your project name in the input field and click on "Create Project"
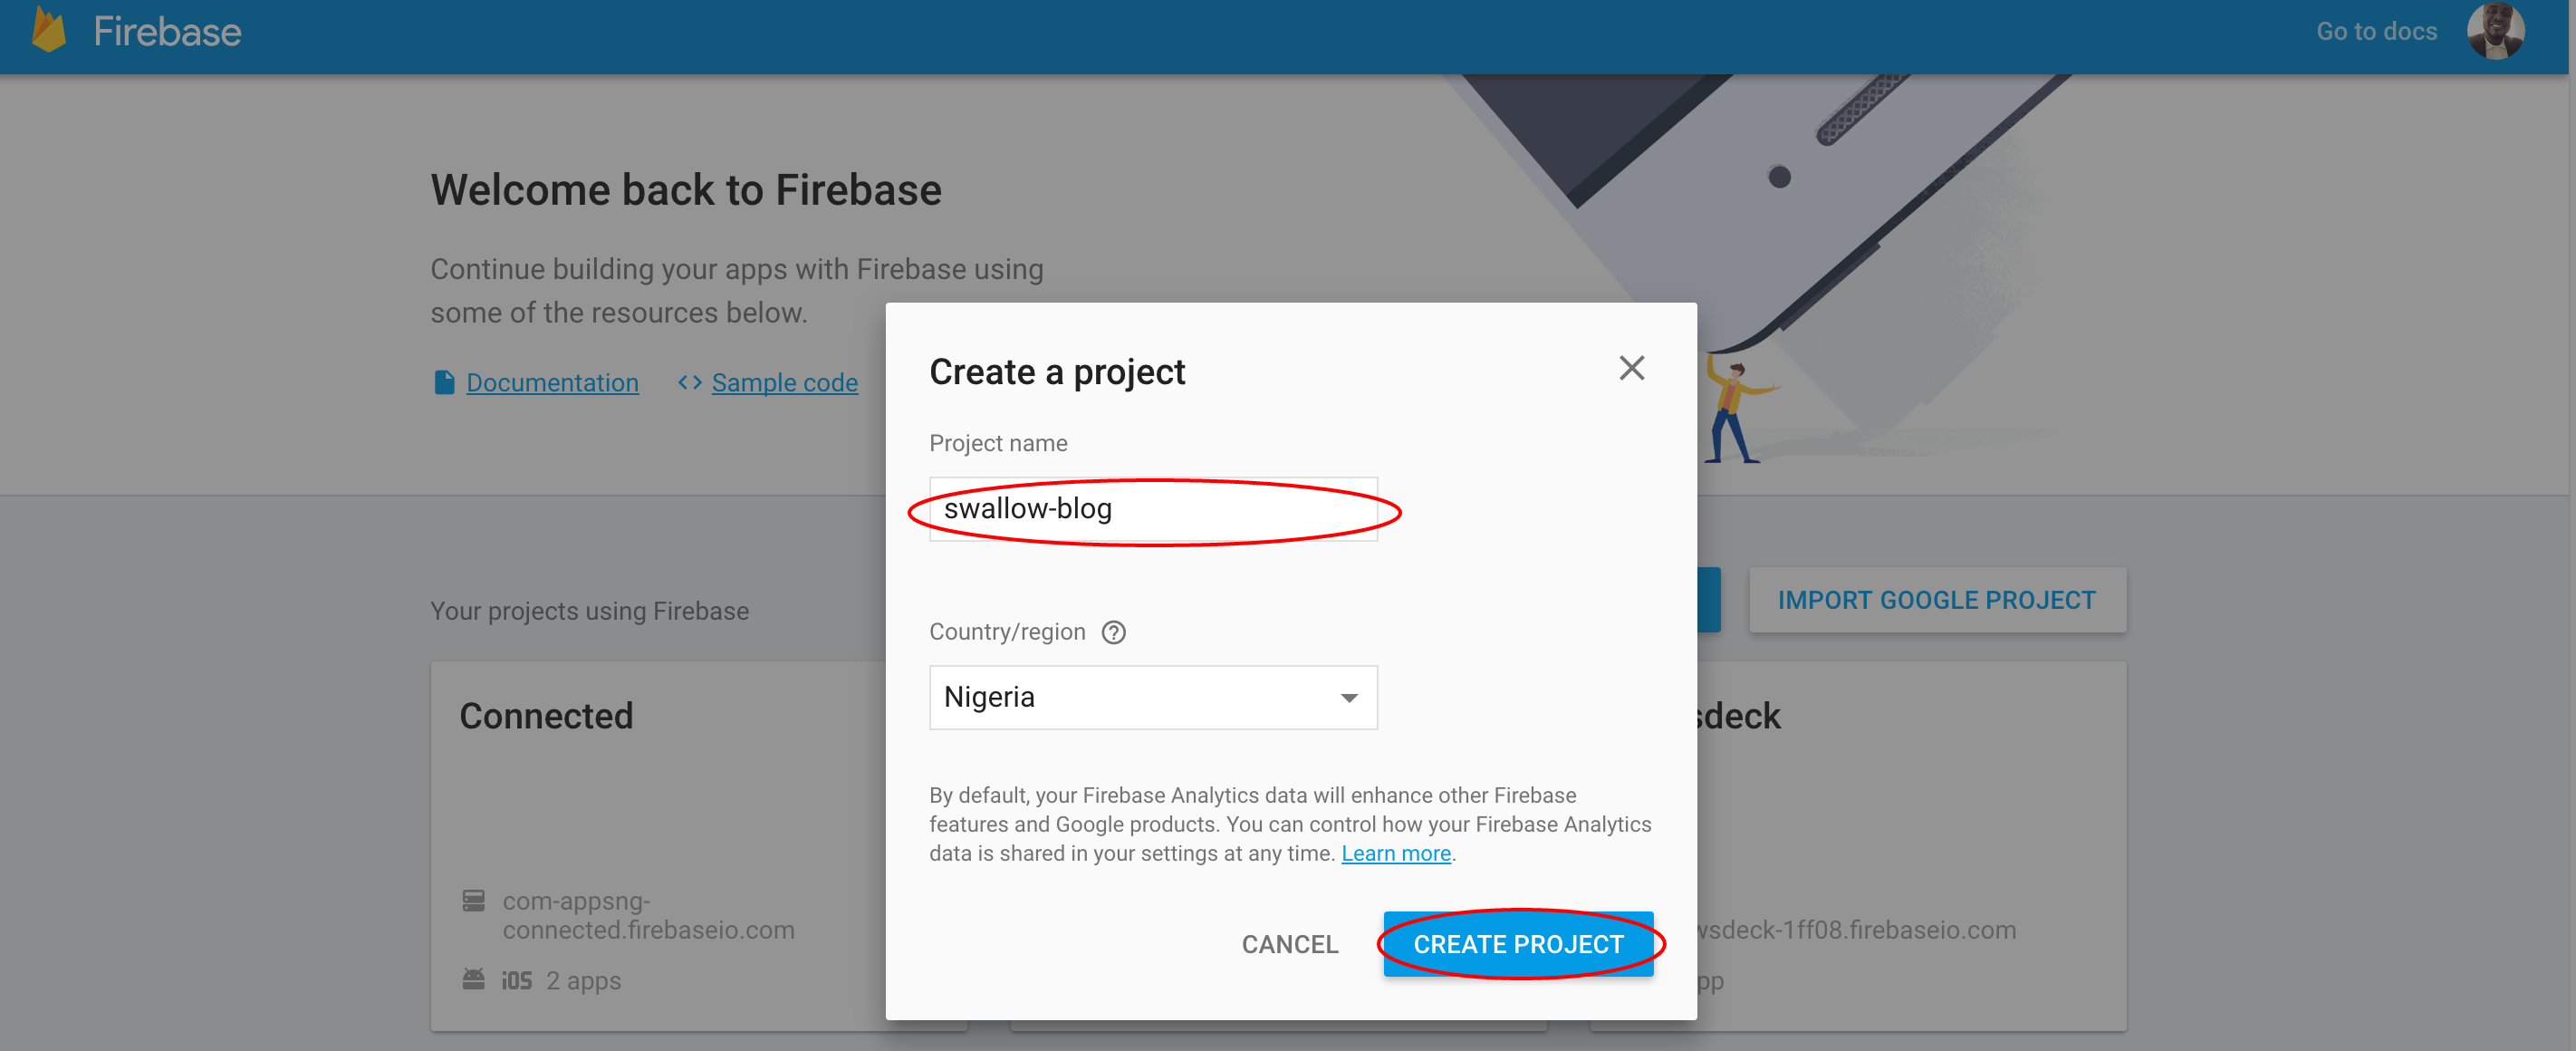
After clicking on "Create Project", Firebase will create a project for you (this will only take a sec)
Next, you will see the landing page as shown bellow, now click on hosting on the left
hand side of the screen 
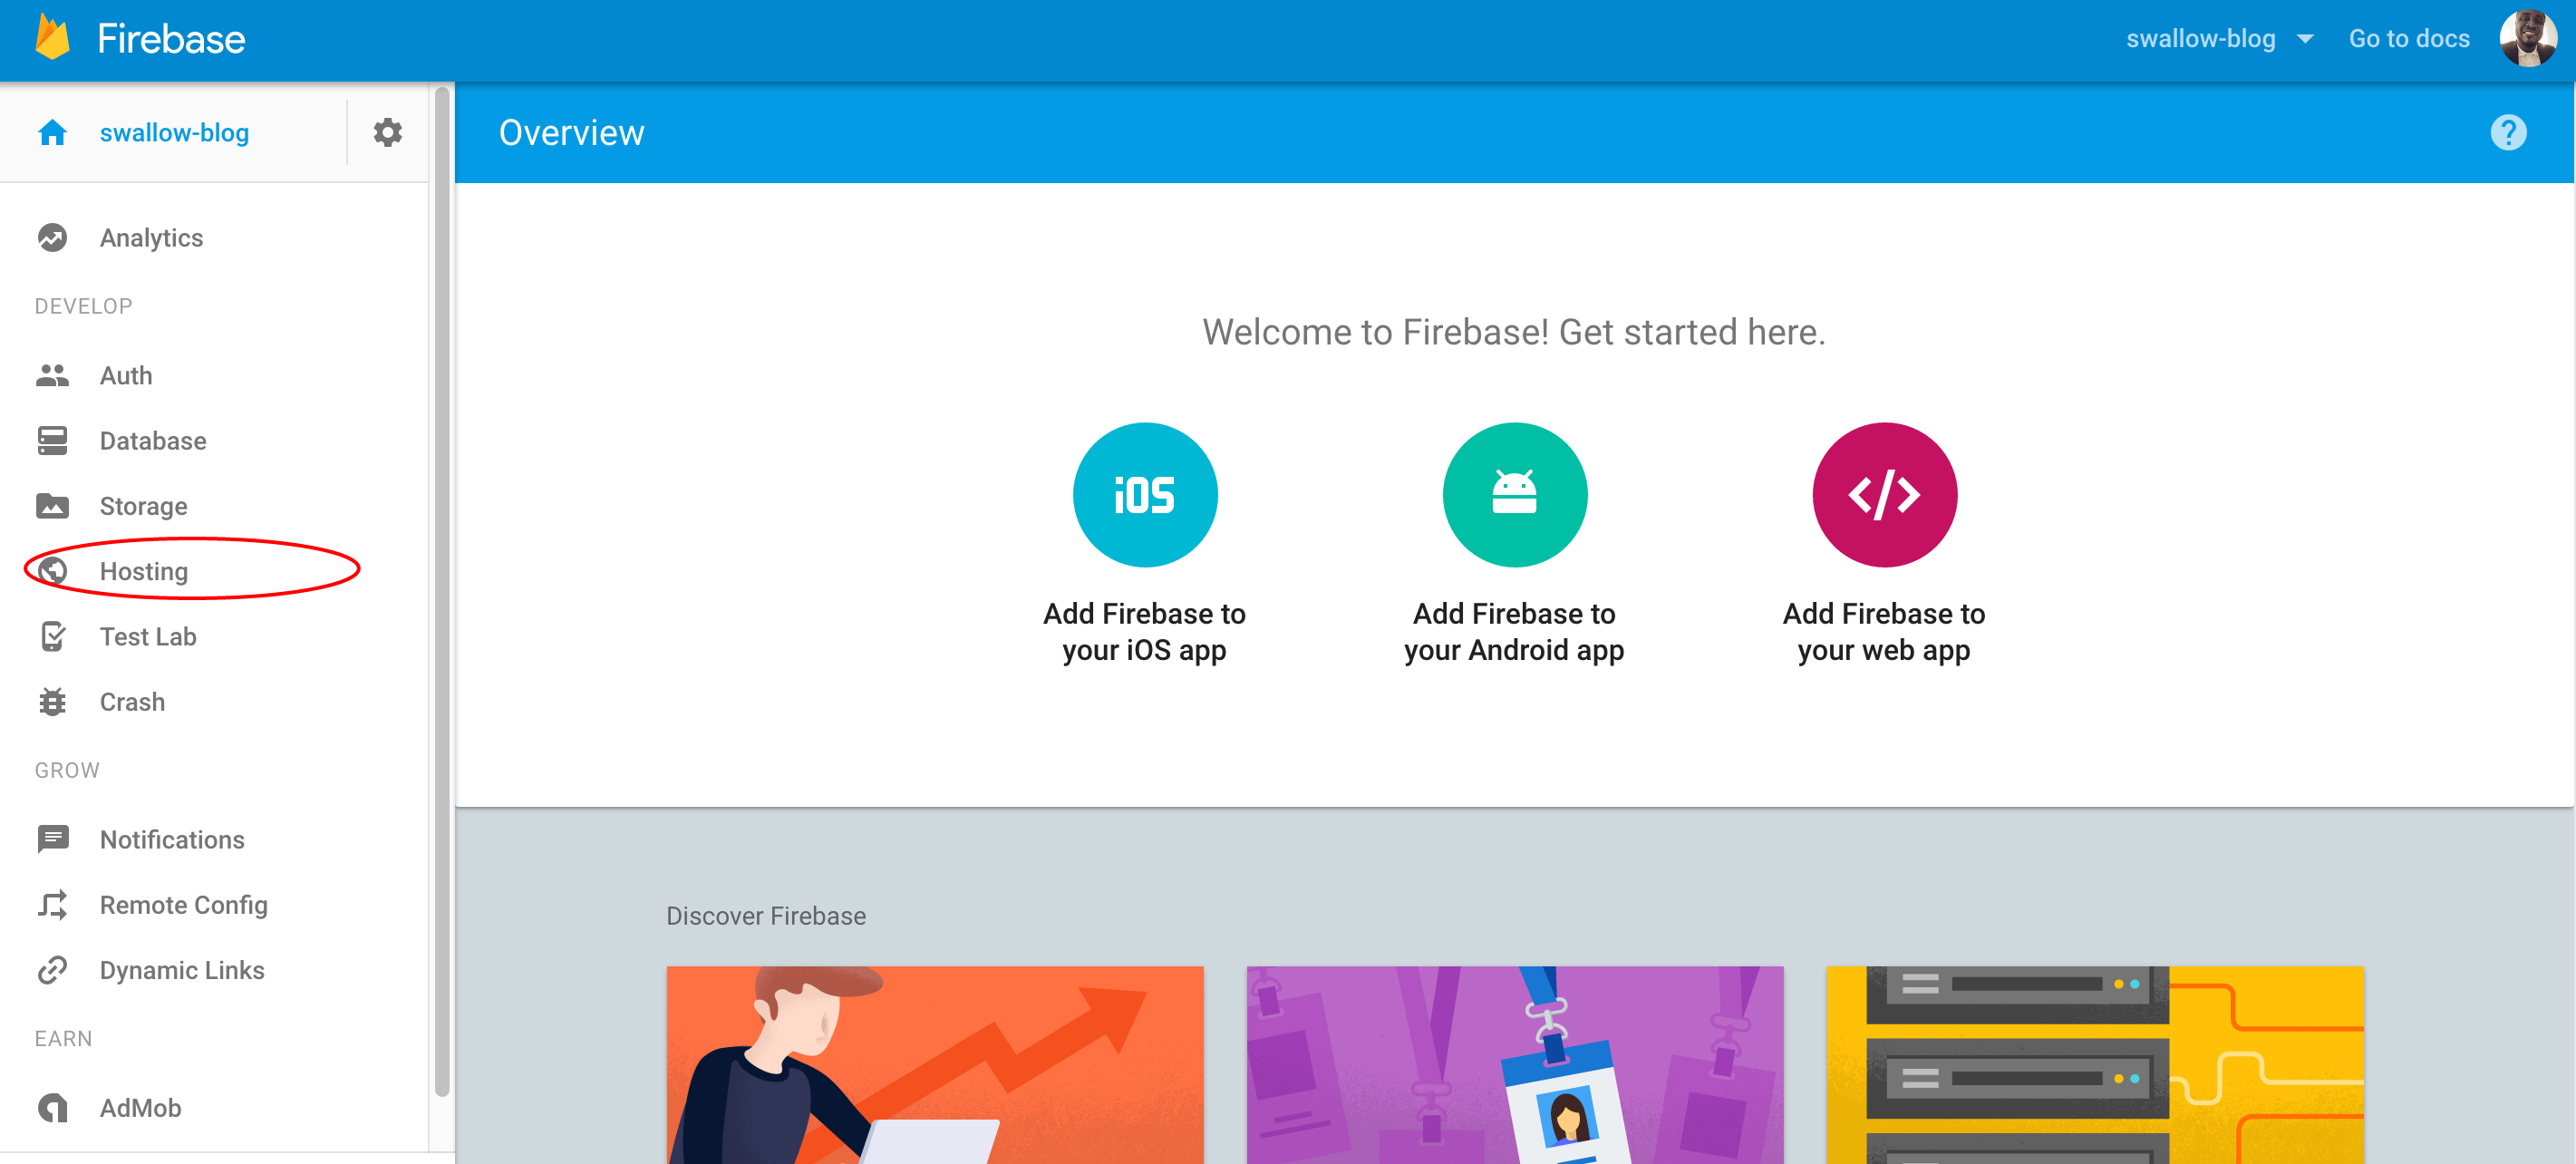
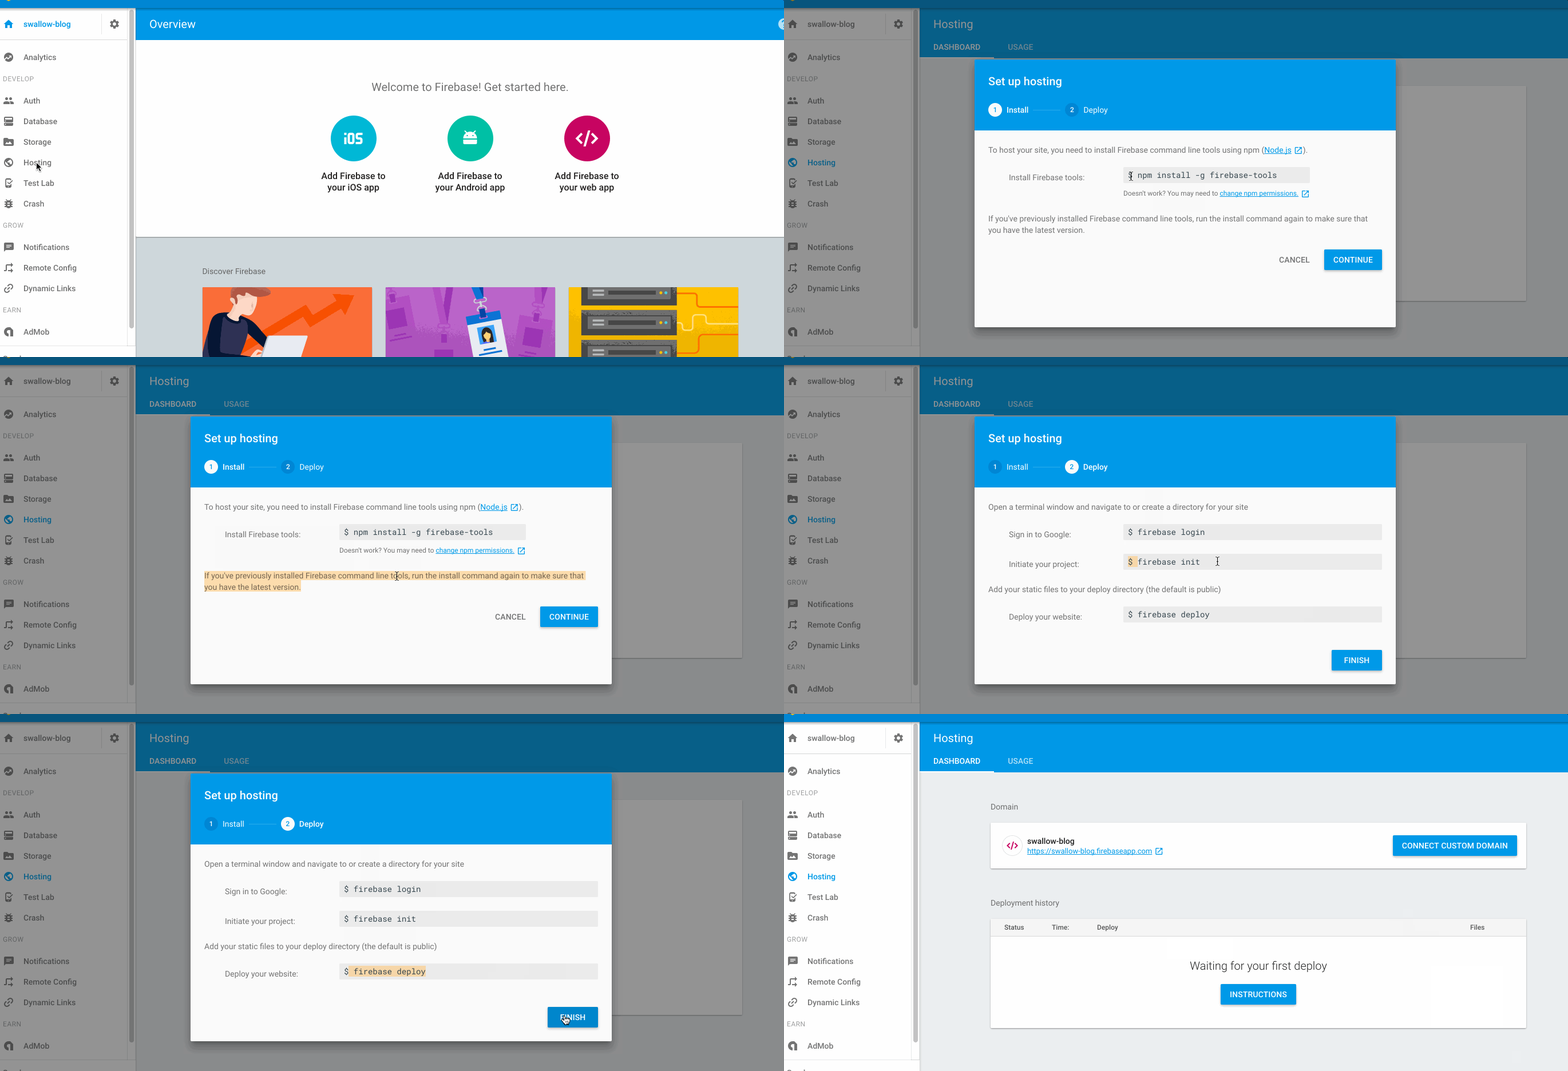
More info about firebase hosting
https://firebase.google.com/docs/hosting
By this time you are just things ready for your project on firebase and if you don't really know more about Firebase hosting don't worry, we just need to set things up for you to be able to have Firebase on your machine before downloading SwallowJs.
Install the Firebase CLI
The Firebase CLI (Command Line Interface) requires Node.js and npm, which can both be installed by following the instructions on https://nodejs.org/. Installing Node.js also installs npm.
Once you have Node.js and npm installed, you can install the Firebase CLI via npm:
npm install -g firebase-toolsMore help here:
https://firebase.google.com/docs/hosting/quickstart
Getting SwallowJs
First, you need to get the firebase.json file
The firebase init command creates a firebase.json configuration file in the root of your project's directory. Your default firebase.json Hosting configuration will look like this:
{
    "hosting": {
        "public": "app",
        "ignore": [
            "firebase.json",
            "**/.*",
            "**/node_modules/**"
        ]
    }
}
The file's default properties - public, and ignore—are described in detail below.
"public": "app"required - The public setting tells the firebase command which directory to upload to Firebase Hosting. This directory must be inside the project directory and must exist. The default value is a directory named "public" in your project directory.
Connecting SwallowJs with Firebase
Now that you have add your project to Firebase and you have a folder named "app" as listed
in your firebase.json configuration file ("public": "app") you can clone the repository
using git. git clone git://github.com/hurlatunde/swallow.js.git
Regardless of how you downloaded it, place the code inside of your DocumentRoot/app. Once finished, your directory setup should look something like the following:
/path_to_document_root
   /app
      /assets
      /component
      /elements
      /layouts
      index.html
   firebase.json
Right after loading all file refresh your app
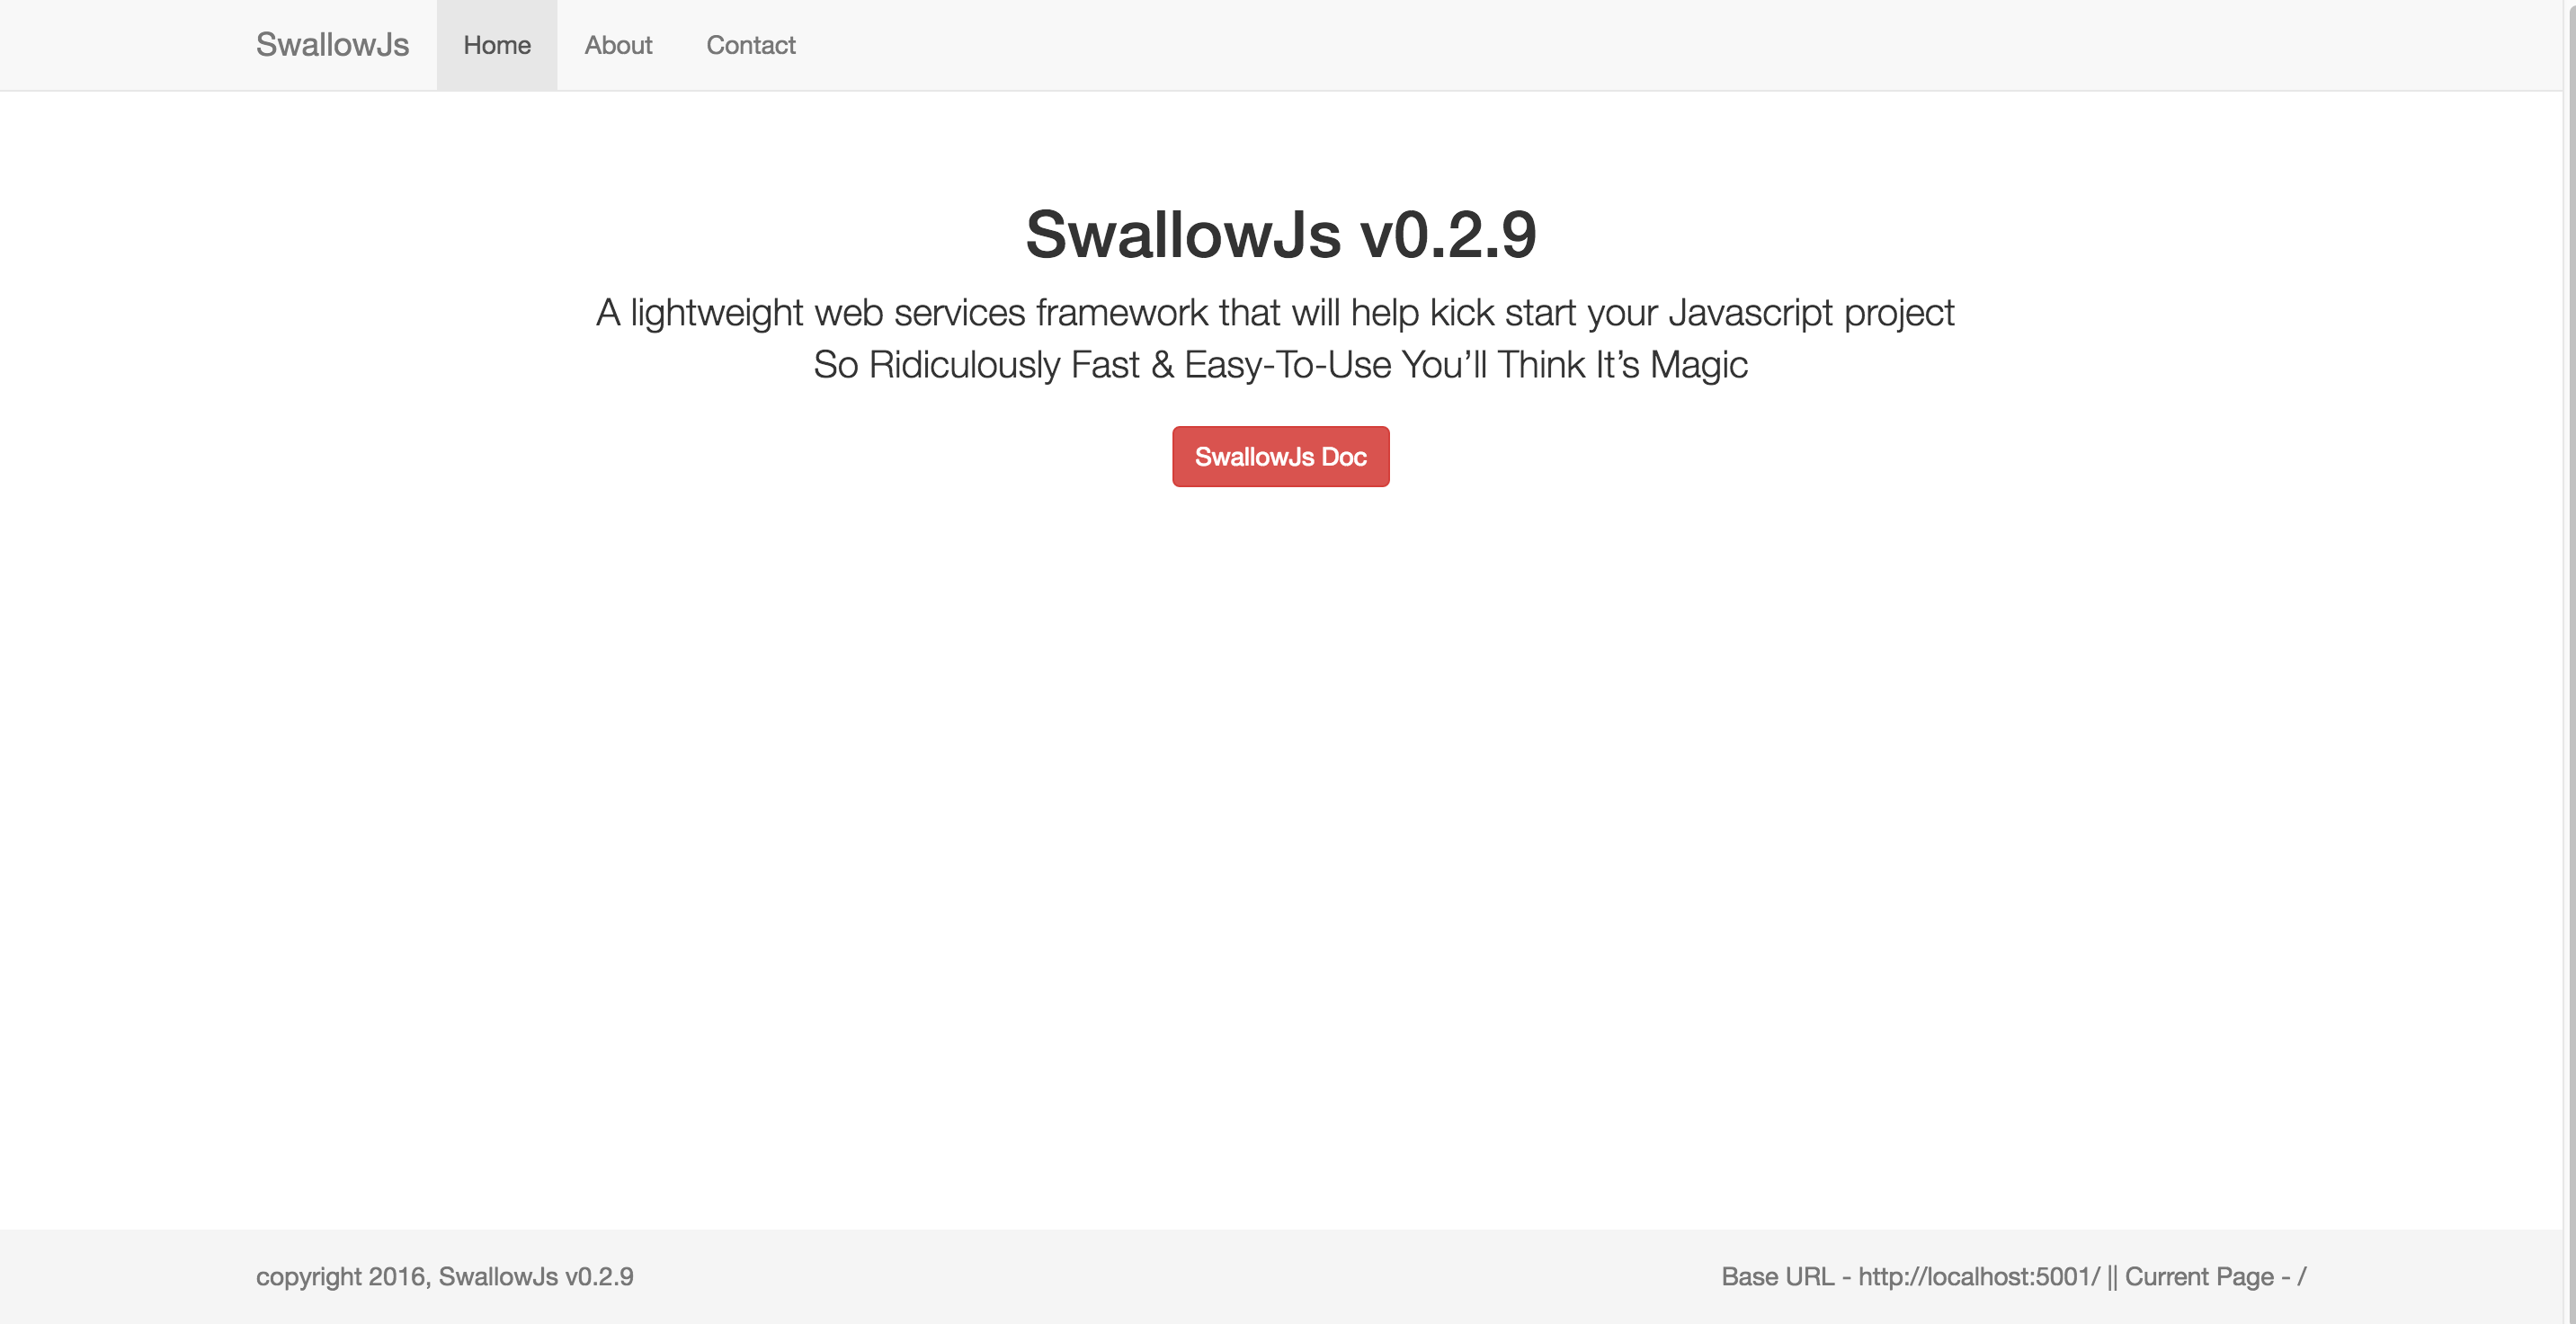
And you should see the SwallowJs first page. It’s our aim to increase productivity and make coding more enjoyable. we hope you see that important Firebase with SwallowJs is at easy as it could be.
Creating the Blog Database
Next, let’s set up the underlying database for our blog. If you haven’t already done so, Right now, we’ll just create a single node to store our posts. We’ll also throw in a few posts right now to use for testing purposes.
Go back to your Firebase project https://console.firebase.google.com/.
Click on "Database"

Use the following json statements into your Firebase database:
{
    "posts" : {
        "post_one" : {
            "author" : "Olatunde Owokoniran",
            "body" : "This is the post body with innovate resource-leveling growth strategies rather than flexible human capital.",
            "title" : "The title "
        },
        "post_three" : {
            "author" : "Olatunde Owokoniran",
            "body" : " This is really exciting! Not, but in globally innovate resource-leveling growth strategies rather than flexible human capital",
            "title" : "Title strikes back"
        },
        "post_two" : {
            "author" : "Olatunde Owokoniran",
            "body" : "And the post body follows with globally innovate resource-leveling growth strategies rather than flexible human capital.",
            "title" : "A title once again "
        }
    }
}
Or just import a demo Data (JSON) file
Firebase Database Configuration
Onward and upward: let’s tell SwallowJS where our Firebase database is and how to connect to it. For many, this is the first and last time you configure anything.
Find your way to the Firebase configuration file which is found in /app/component/js/Config/config.js. line 38
var firebase_config = {
    apiKey: 'APP-API-KEY',
    authDomain: 'APP-AUTH-DOMAIN',
    databaseURL: 'APP-DATABASE-URL',
    storageBucket: 'APP-STORAGE-BUCKET',
    messagingSenderId: 'APP-MESSAGE-SENDER-ID'
};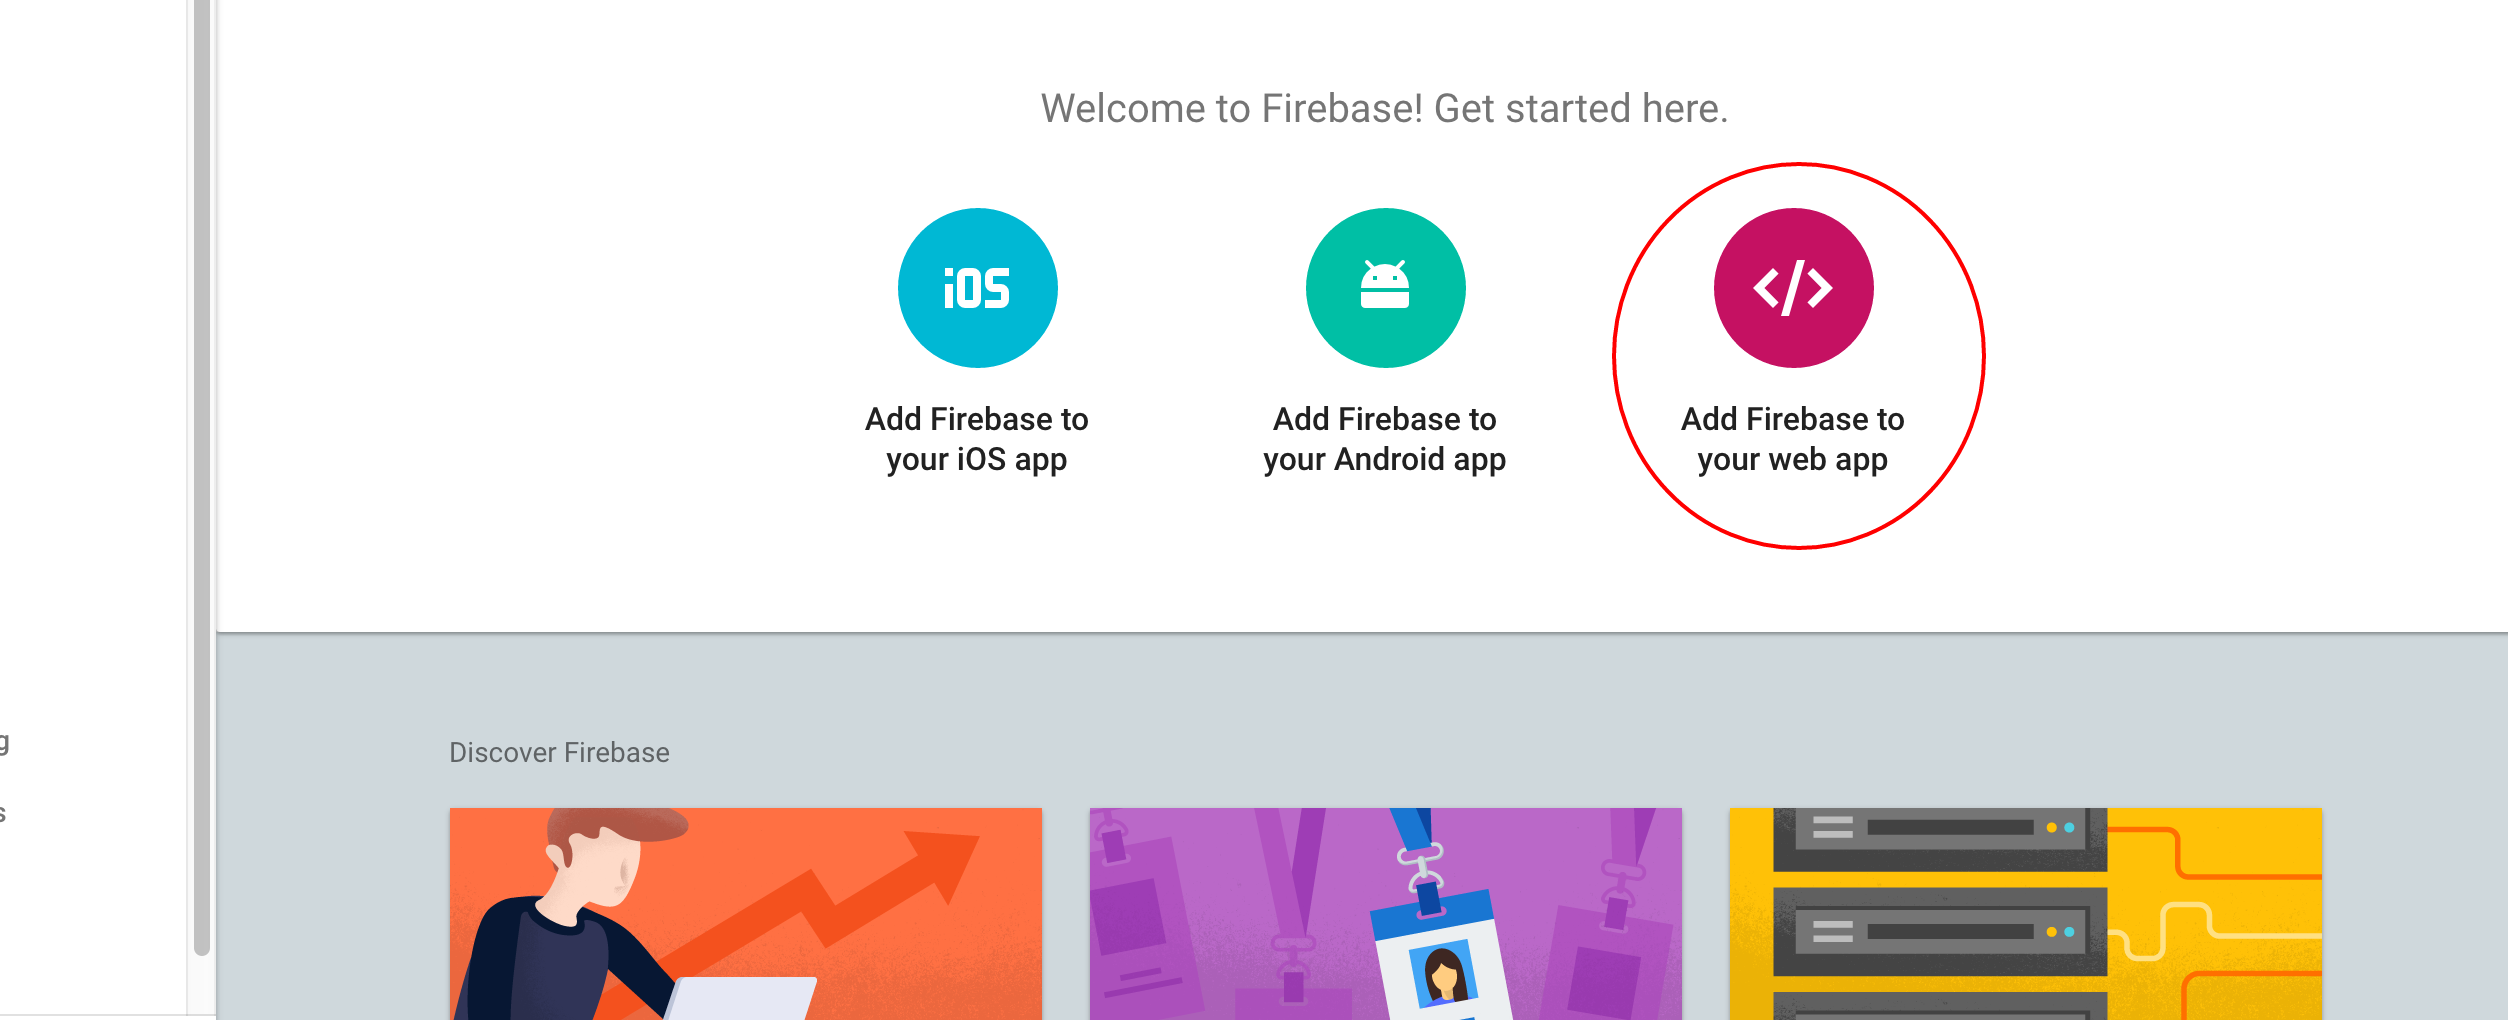
Go back to your Firebase project https://console.firebase.google.com/, get your Firebase config settings
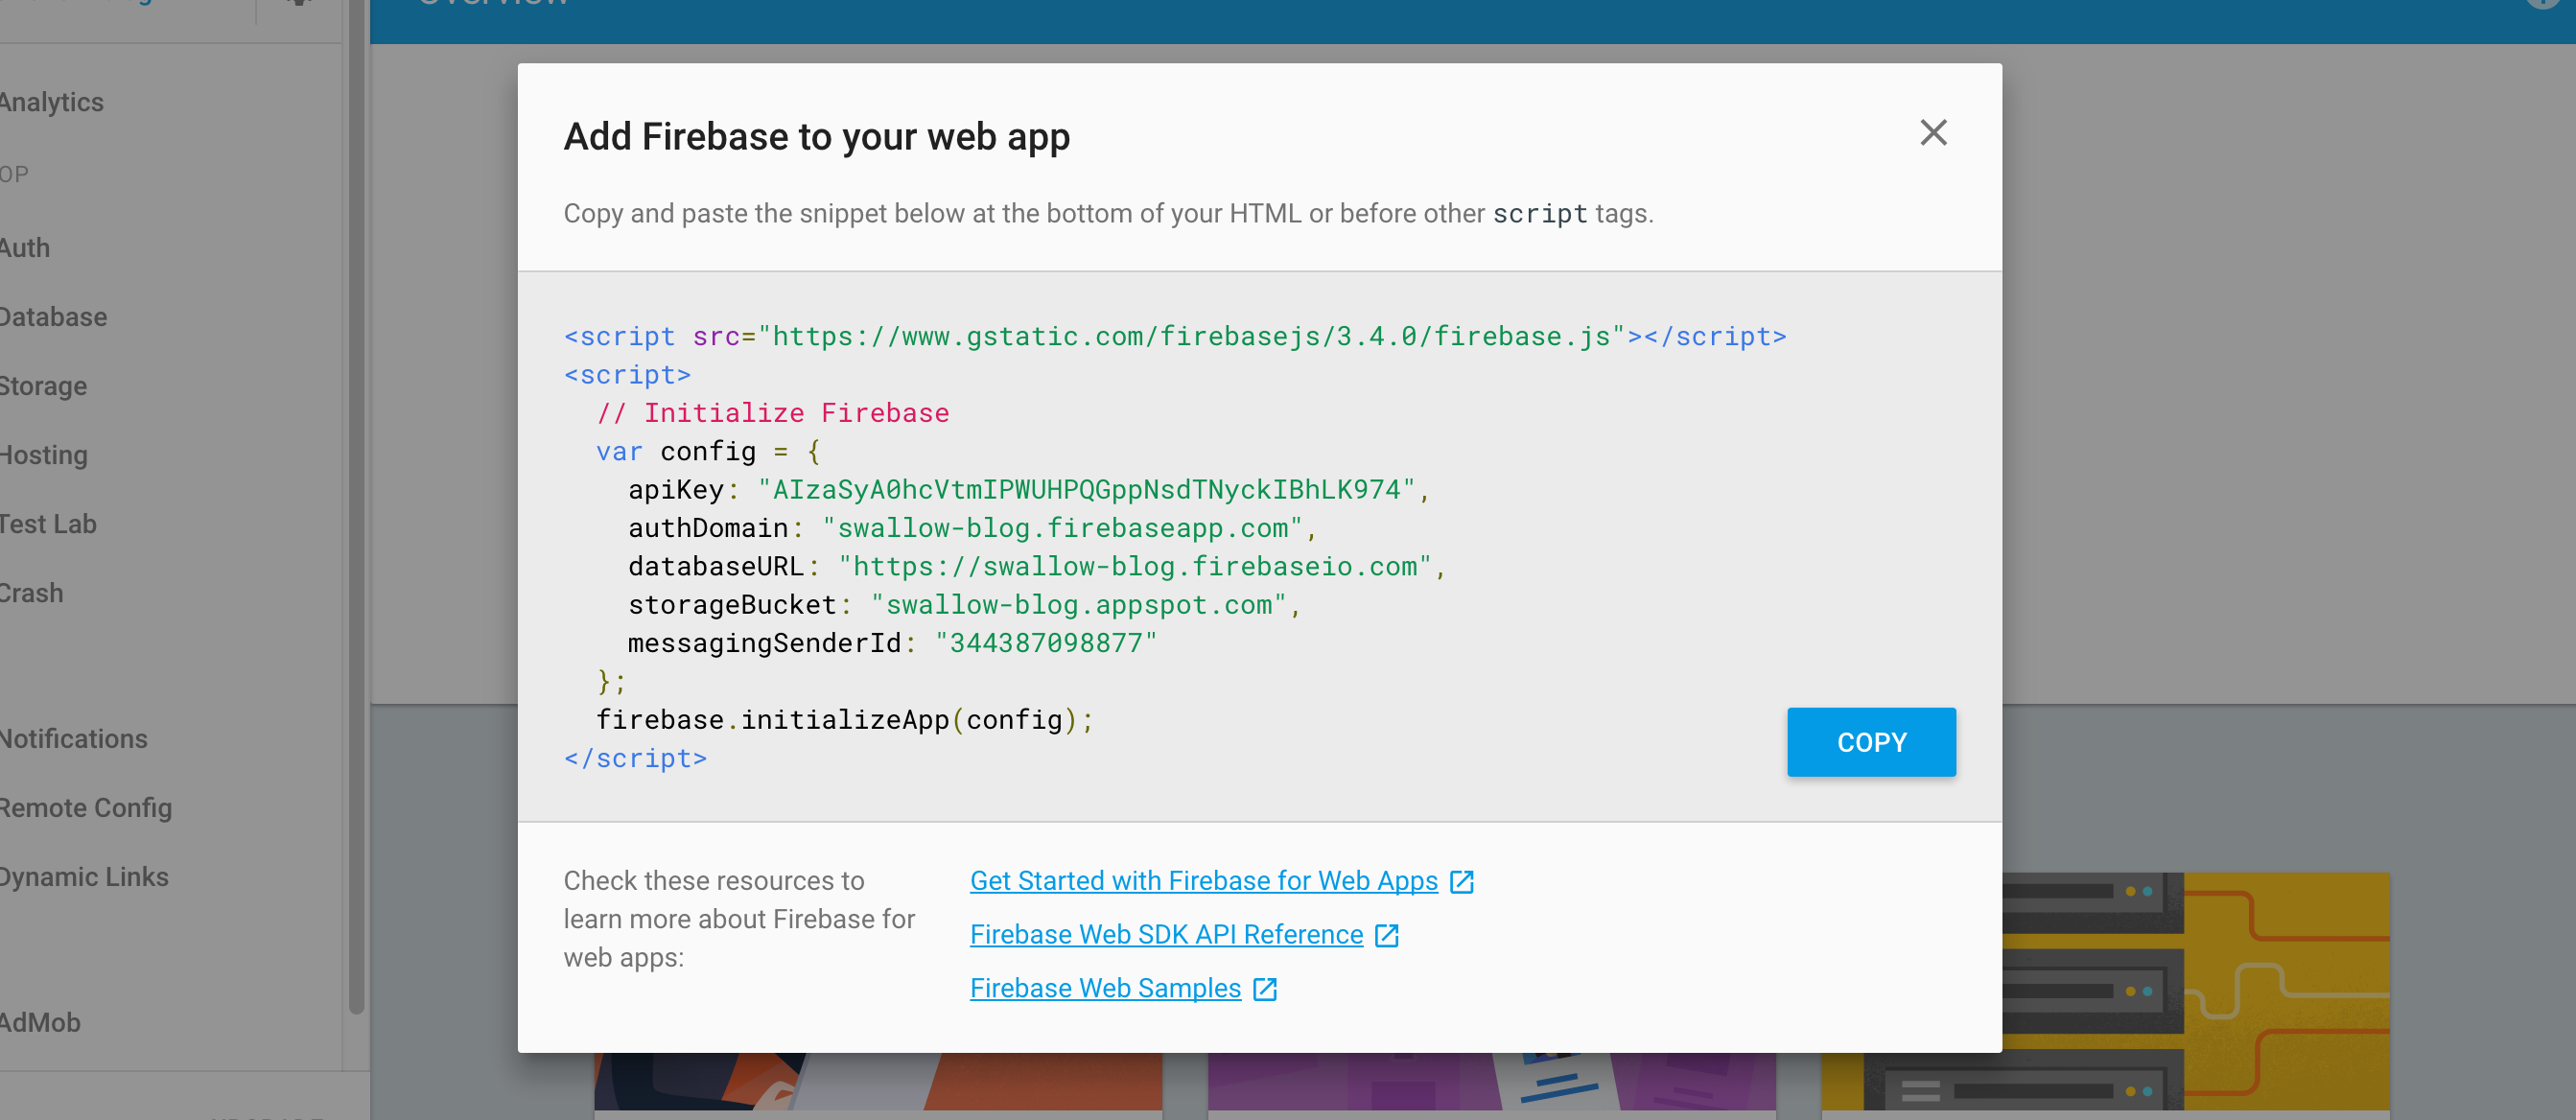
And also head to DocumentRoot/app/index.html uncomment line 28, This is to help include Firebase into your project.
Now that you made connection to
Deploy To An HTTPS Host The Firebase commands run in this example are: firebase login to authenticate with Firebase firebase init to initialize our Firebase project firebase deploy to upload our application to FirebaseWe’ve created a framework to help you kick start your firebase project faster and better
The most important parts of the Swallow.Js Framework are the simple included set of different functions. Swallow.Js is built on these components PathJs for routing, MustacheJs for view and depend more on Firebase for data-source, and also build-in server side request for your regular JSON calls.